You can define the dimension layout and select members in the left Pane, and define the form's properties in the right Pane.
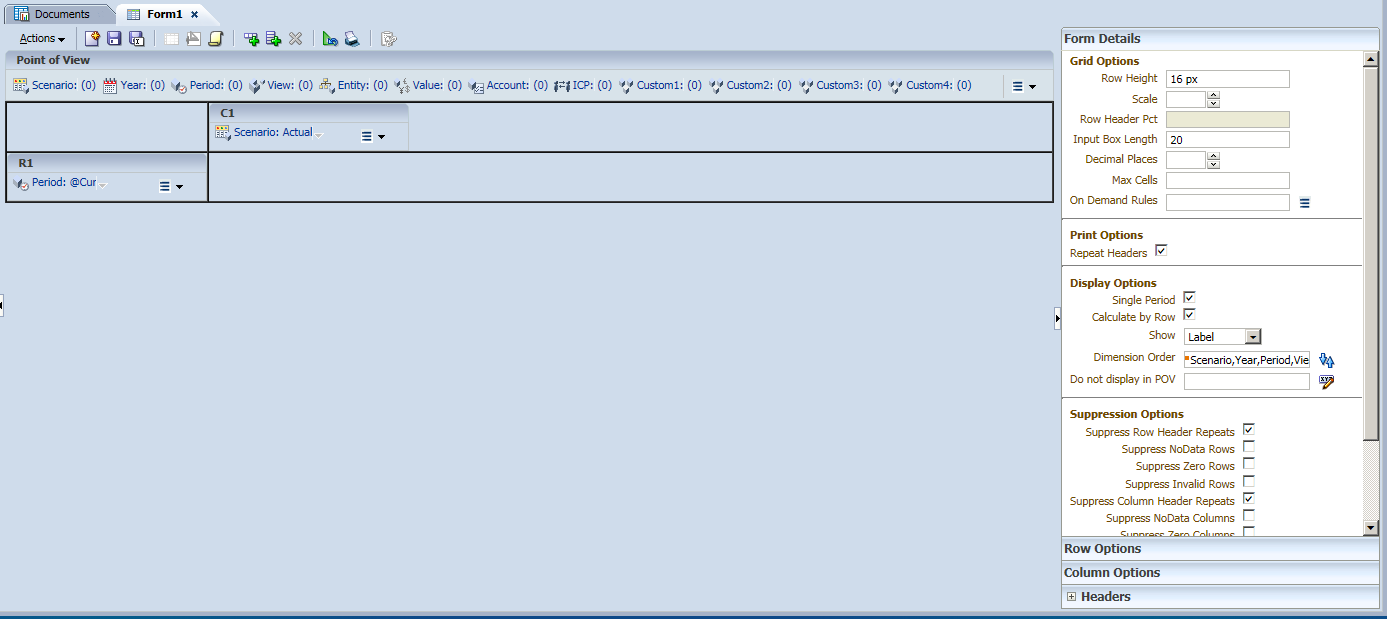
You can Add Dimensions in the Row or Column

Select the dimensions that you want to add, click OK.

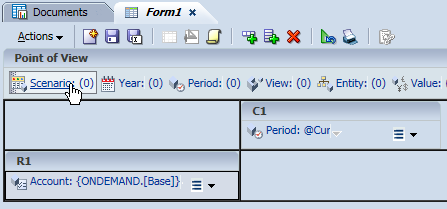
You can Remove Dimension to POV by right-click it.

Select members for dimension.

Select member or with its relation

Select members for POV dimensions as well.
Specify the Background POV members by selecting a member. If you select a member list, it is used as a selectable POV, from which data form users can select members.

You can set which POV dimensions do not need to display in the Form Details of the right Pane.
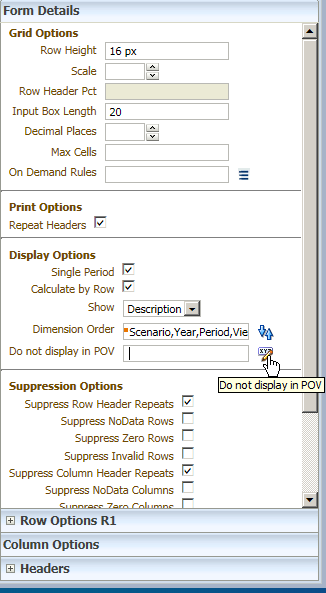
Select the dimensions that don't want to display, click OK
If you need to add more rows or columns, you can click Add new row/column

But I found one thing I don't know whether it is a bug, when I add the new row, nothing appeared in the R2 and I can't select member for it. I need to click "Script" to add members for R2 by inputting code in the script manually.

Input the R2 member you want to add, and then return to Designer mode

Then you can find the R2 member appeared and you can select it now.

In this new release, you can create on-demand rules that can be run from data forms. On-demand rules are useful when you want to run only a subset of calculations to quickly see the results in the data form. Rules designer has been removed from this version, and you can create rules in a text editor such as Notepad ++. The rules are created in a new subroutine and are identified by the OnDemand prefix, for example, OnDemand_TotalPrice as below.

After you loaded the rule to HFM, you can specify on-demand rules for the data form, click "On Demand Rules" to select the rules to want to assign.

All the available on-demand rules are displayed here and you can select one or more of them for the form

If you know the rule names, enter them in the text box in a comma-separated list is OK as well.

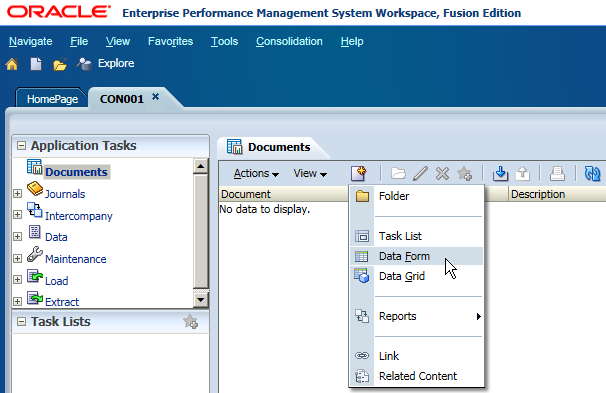
After all the setting is done for the form, you can save it and name it.

If you can't see the form you have saved, click "Refresh"
Double click the new created form and then you can open it, the POV dimensions in blue color means that you can select member for them by clicking on it. And the black ones are background POV that you can't change.

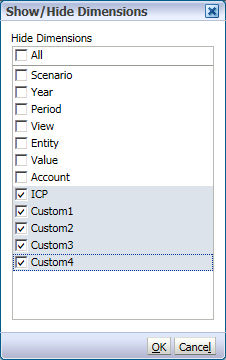
And if users don't want to see some POVs, they can select Show/Hide Dimensions.

Uncheck the dimensions that don't want to display, click OK

Then you can find the unchecked dimensions are hidden.

In this new release, finally we can single-click to edit an input cell, it is the default setting of the application. If you don't like it, you can click "Disable Single Click to Edit".

You can find one "Tick" button in the form, that's the new feature on-demand rule. Click the "Tick" and then you can select the pre-defined rules.
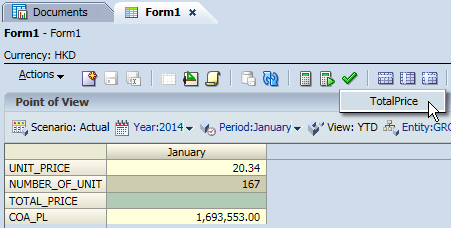
You can find the TOTAL_PRICE is calculated after the rule was launched.

Hi,
ReplyDeleteCould you let me know the difference between data forms and grids. because both have similar functionality and looks same. In both we can add and delete the dimensions. then what is the exact difference? Please let me know.
Hi Martin,
ReplyDeleteIs it possible to hide/suppress few selected rows and columns in Dataform as i do not want to show it to end users. If it is possible please let let me know the command that can be used in script.