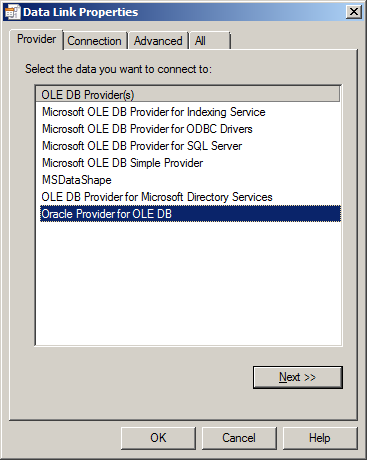
Create a new Text Document, and rename it with "udl" extension (e.g. DSN001.udl). And then open this file, click the Provider Tab, select Oracle Provider for OLE DB and then click Next
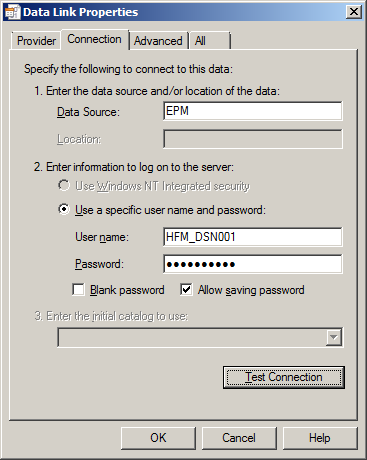
In Connection Tab, input your Data Source Name and input User name and Password for the Destination Database. Check Allow saving password and then click Test Connection.
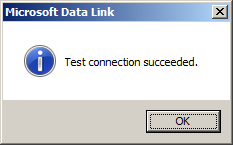
Displayed Test connection succeeded.
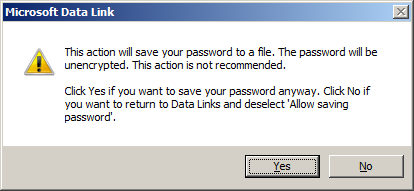
And the you can click OK to save the profile, click Yes to continue.
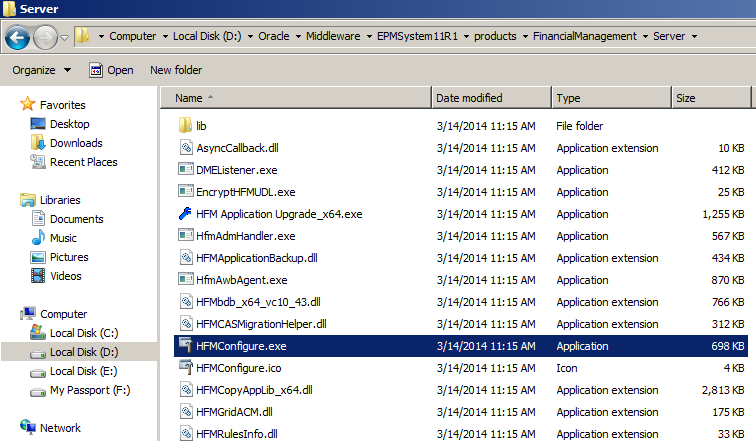
In your HFM server, go to the folder D:\Oracle\Middleware\EPMSystem11R1\products\FinancialManagement\Server, and found the utility called HFMConfigure.exe.
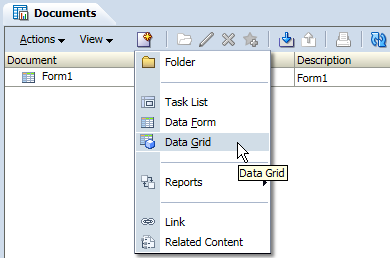
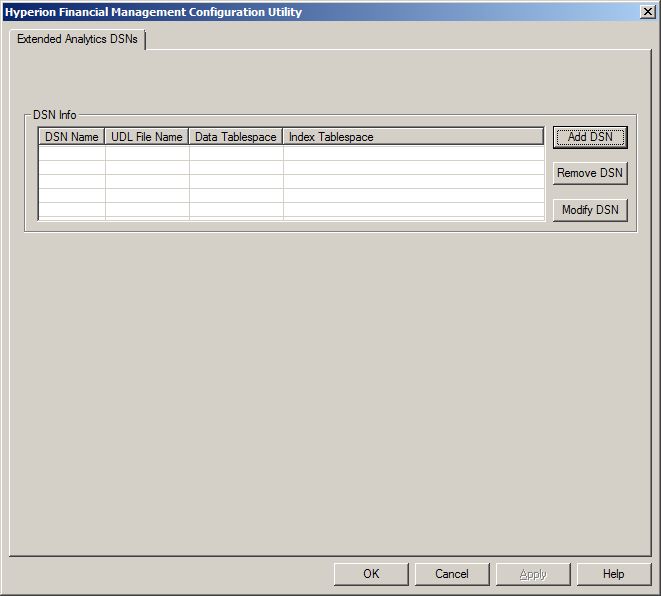
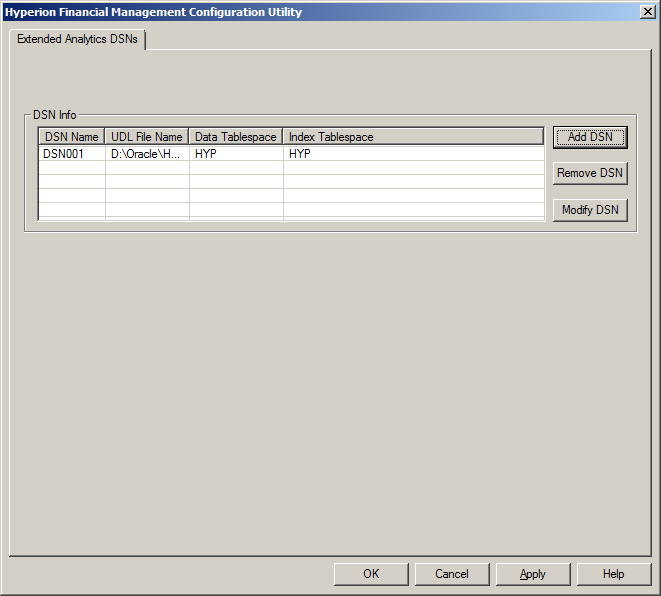
Double click to open the utility, and you can define Extended Analytics DSNs here. Click Add DSN.
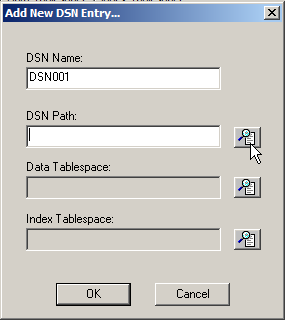
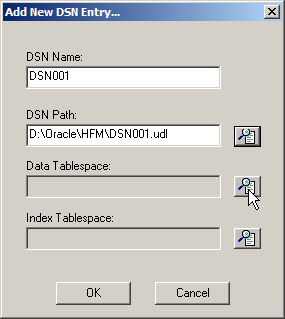
Input the DSN Name, and then click to select the DSN Path
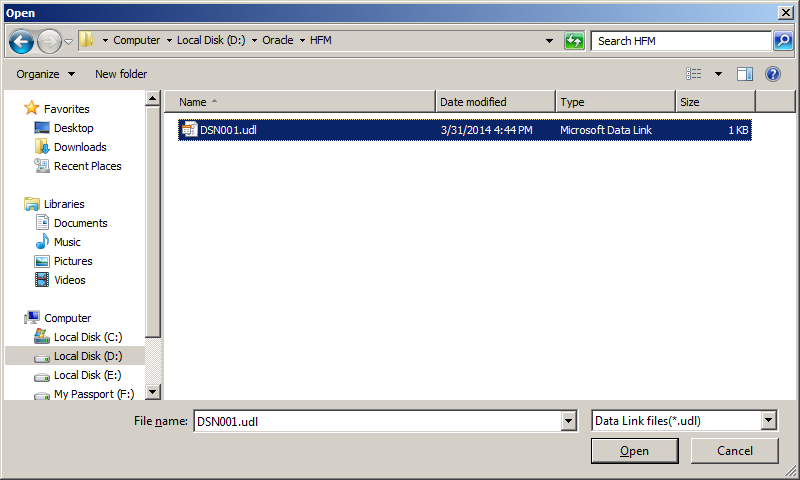
Find the udl file saved before.
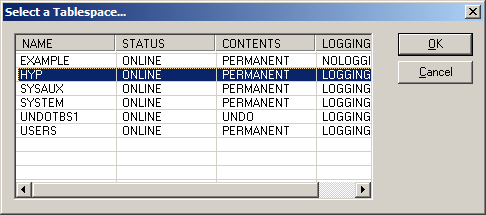
Then click to select Data Tablespace.
Select your preferred Tablespace.
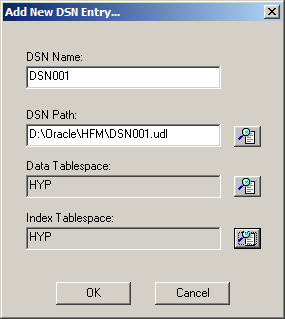
Same step to select the Index Tablespace and then click OK to save.
Then you can find your DSN created successfully.
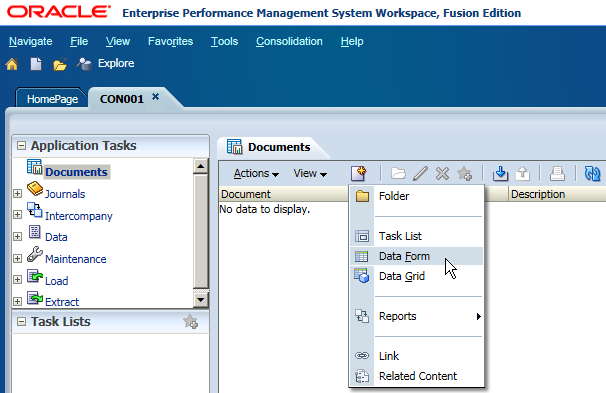
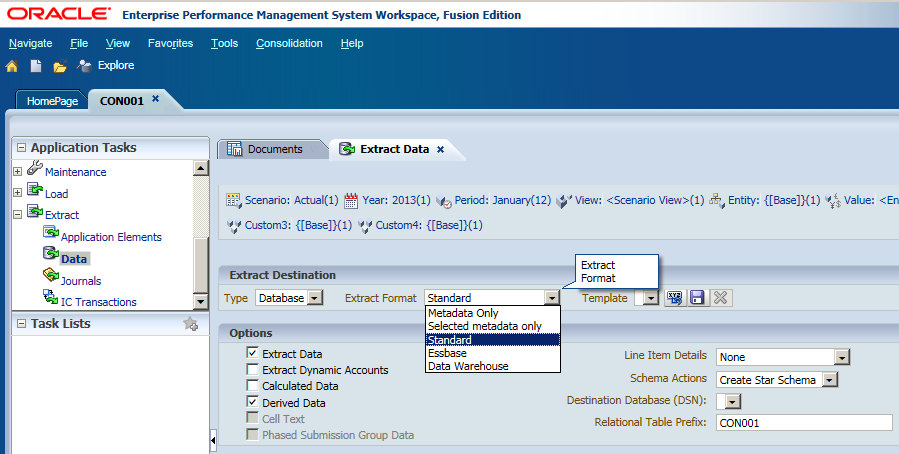
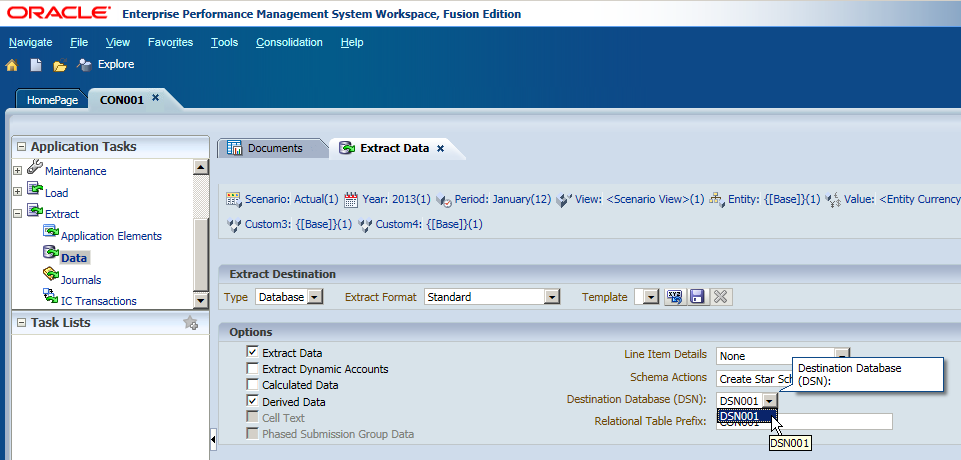
Now login to HFM and locate to Extract Data. Select Extract Type to Database and Extract Format to Standard. Now you can select the DSN you defined before.
You can save the setting as a template which you can reuse it next time, click Save Template.
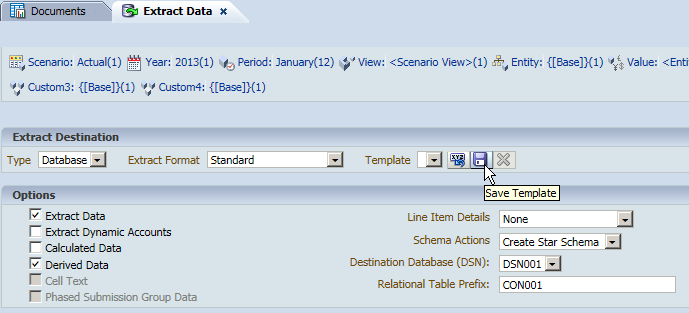
Input the Template Name and click OK.

After that, you can click Extract to launch the task.
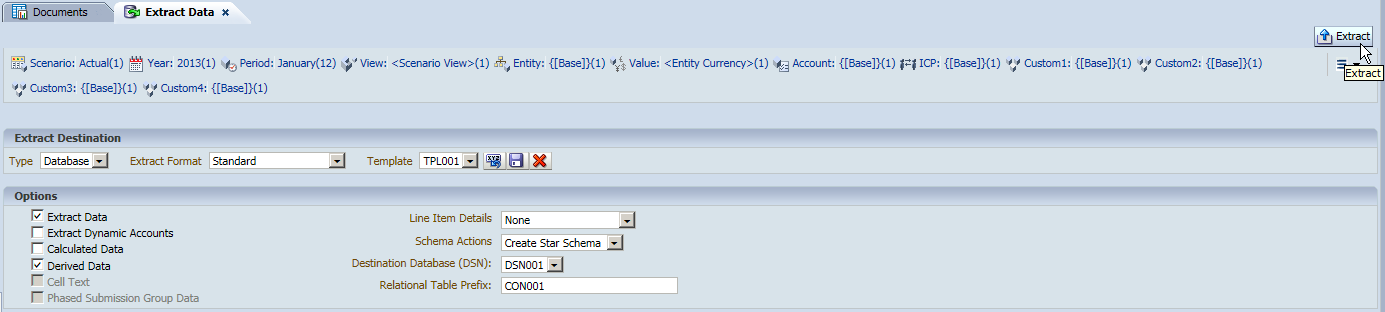
You can view the running task and the progress of it.
After the task's progress reached 100%, you can check the extract result in the relational database. You can find all the Dimensions are extracted with the member attributes.
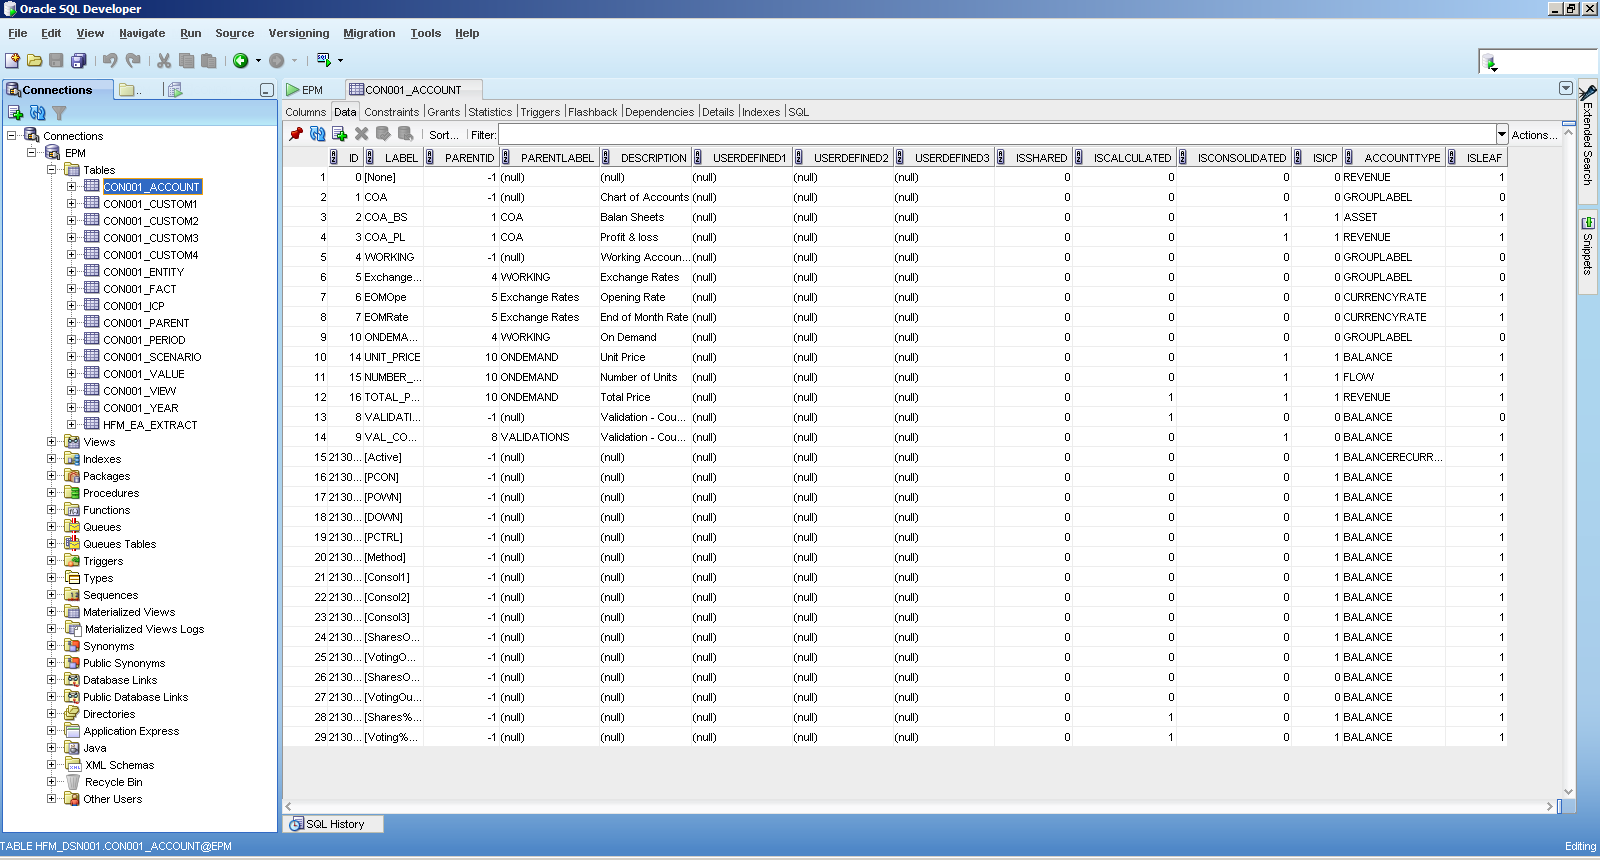
The fact data is stored in the table CON001_FACT.