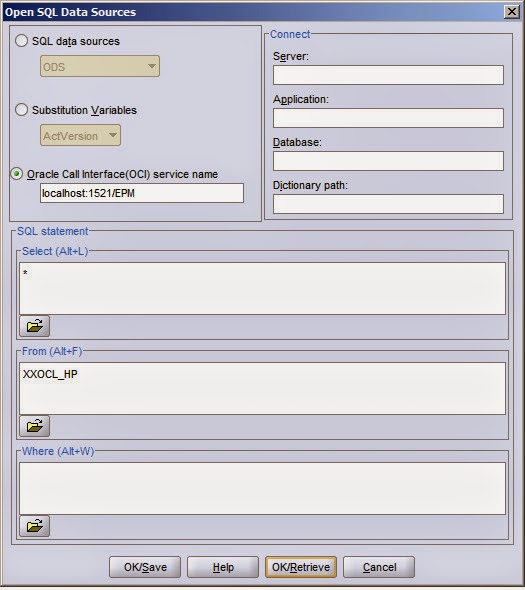
- Explicit Mappings
- Between Mappings
- In Mappings
- Like Mapping
- Conditional Mapping
Tips: You can define the Target Account as "IGNORE", then FDM will ignore all the data records with the source account defined in this rule in the source file. (e.g. records with 1300-101 source account will be ignore when load data to the target system.) You can do that in other types of mappings as well.
2. Between Mappings: many to one mapping. For example, source account in the range 1503~1591 will map to target account 15010101

4. Like Mapping: many to one/many mapping. For example, all the source account start with 1190 will map to account 10010201

You can also define the same wildcard characters (* and ?) in both source and target members so that it will be considered to be automap. For example,

5. Conditional Mapping: many to many mapping. You can define this type of mapping in Between, In or Like mappings.
When add a new line of the mapping, input "#Script" in the Target field. And then click "Zoom" in the Script field.

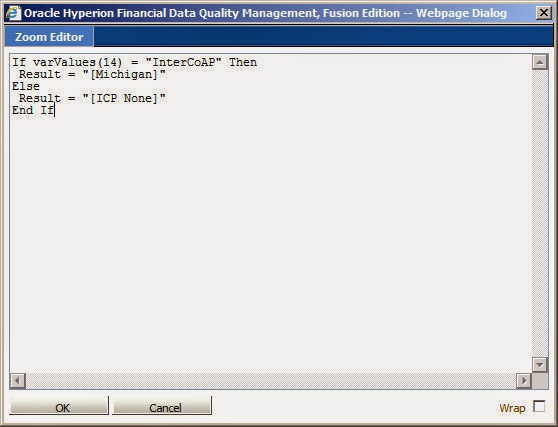
You can use a VB script to define a conditional mapping.
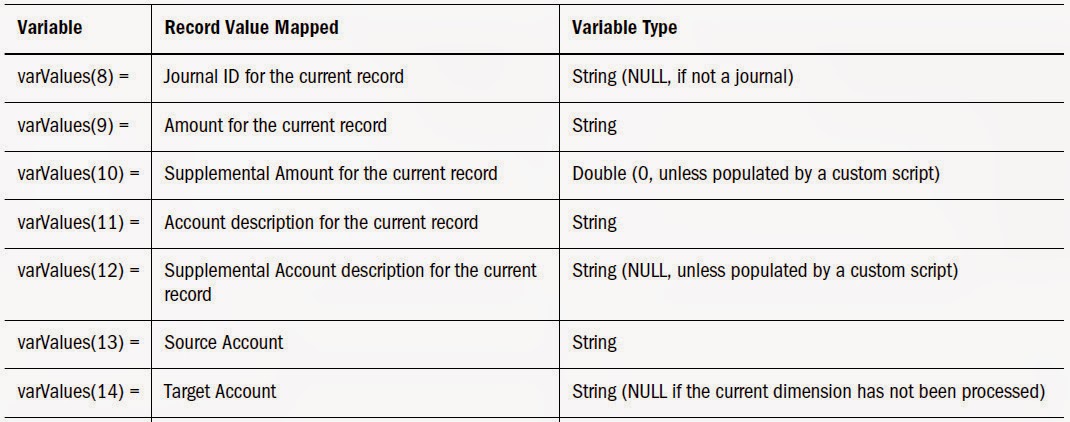
varValues(14) is one of the preset variables that are available for use in conditional script expressions, you can find the meaning of the variables in the FDM admin guide.
This ICP mapping means, if the target account equals "InterCoAP" then return ICP as "[Michigan]". In other cases, return ICP as "[ICP None]". The conditional mapping will be as below,

If a source value is used with multiple map types, FDM processes the maps in the following order:
- Explicit
- Between
- In
- Like
Explicit maps override all other map types. Between maps override In and Like maps. In maps override Like maps.
By default, FDM maps are sorted alphabetically, from within the Rule Name column. To enable FDM to sort and process maps by numeric value, you enable map sequencing. If a source account is valid within multiple maps of one mapping type, the source account is assigned to
For the dimensions order, FDM processes in the following order by default,
- Account
- Entity
- ICP
- Custom1...Custom20
/*------------------------------------------------------------------------------------------------------------------*/
First, we can export the mapping table to Excel by clicking a button.

After the exporting, you can open the Excel file.
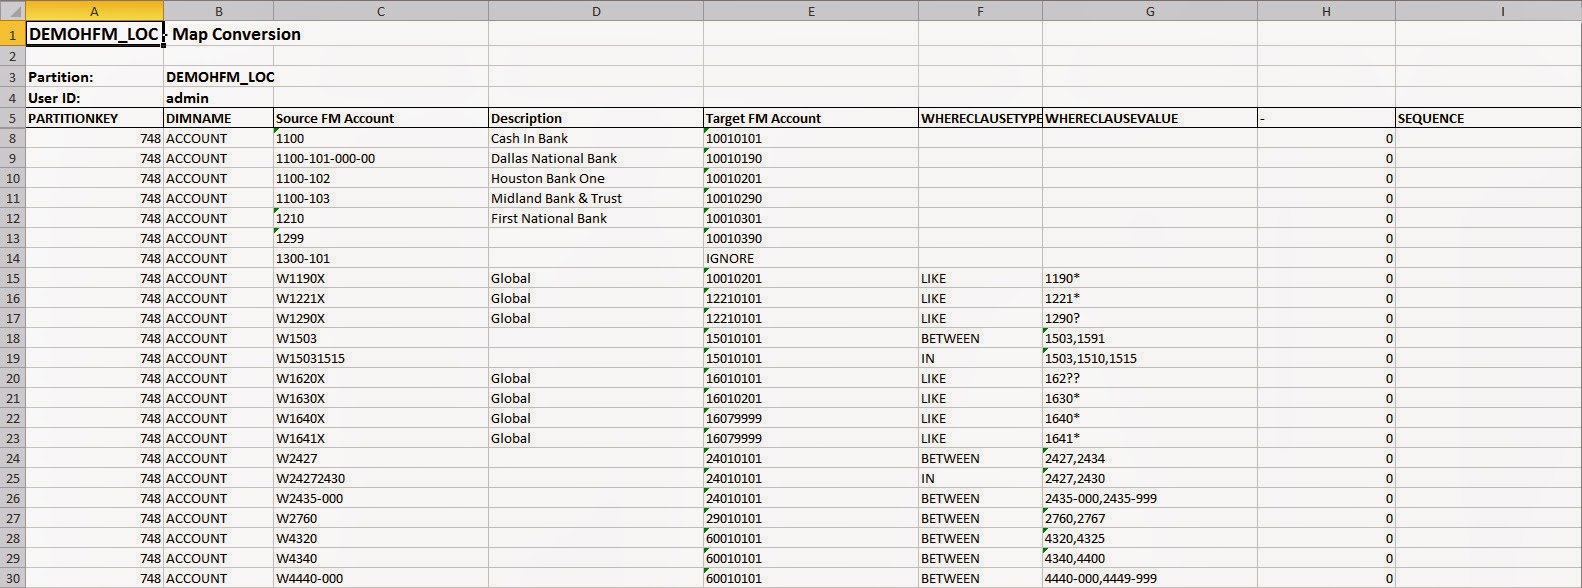
You can find there two rows are hidden in this Excel, unhide these rows.
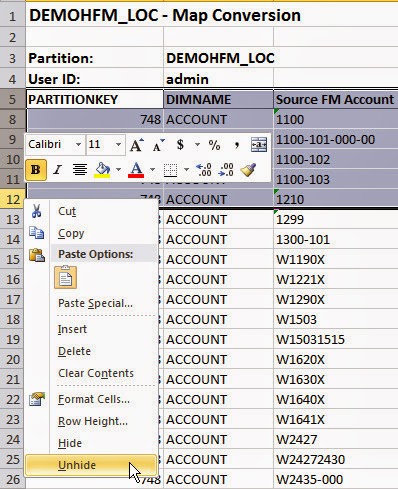
You can find the hidden information as below. Actually, it's the table name and the field names of each column. Don't try to edit these two rows.

In the Excel upper left corner, it's the name box. You can select a name called upsTDATAMAP in this file.
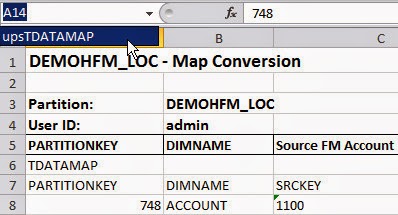
It's the range definition which will be used for import in the later.
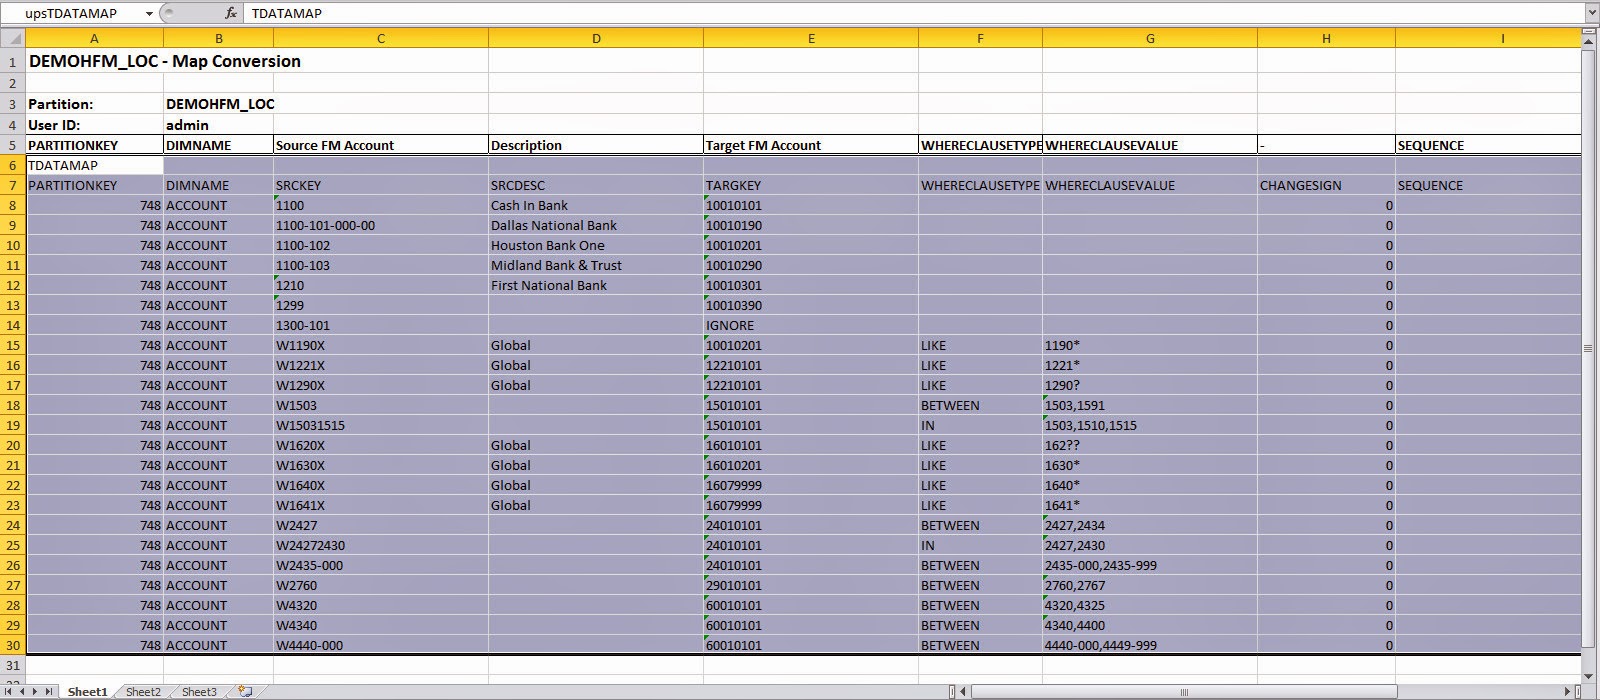
You can try to add a row in the end of the existing records to define a new mapping.
Then you need to navigate to Name Manager under the menu Formulas.

You can find the original range of upsTDATAMAP here.
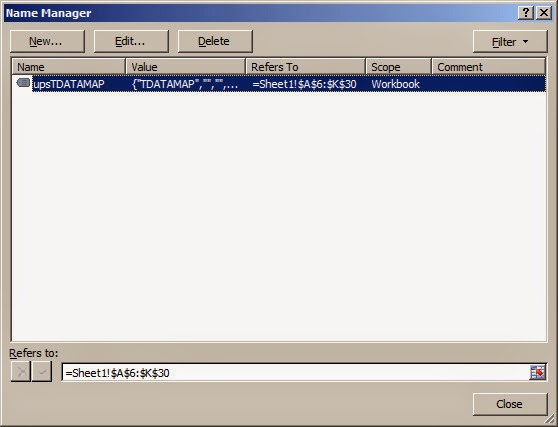
Update the range to cover the new added row.
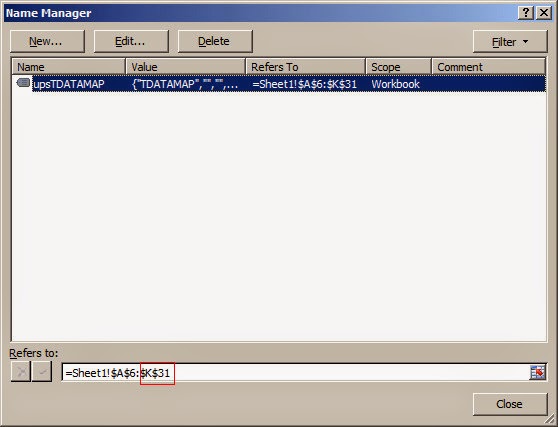
Then you can find the upsTDATAMAP's range has been updated as below.
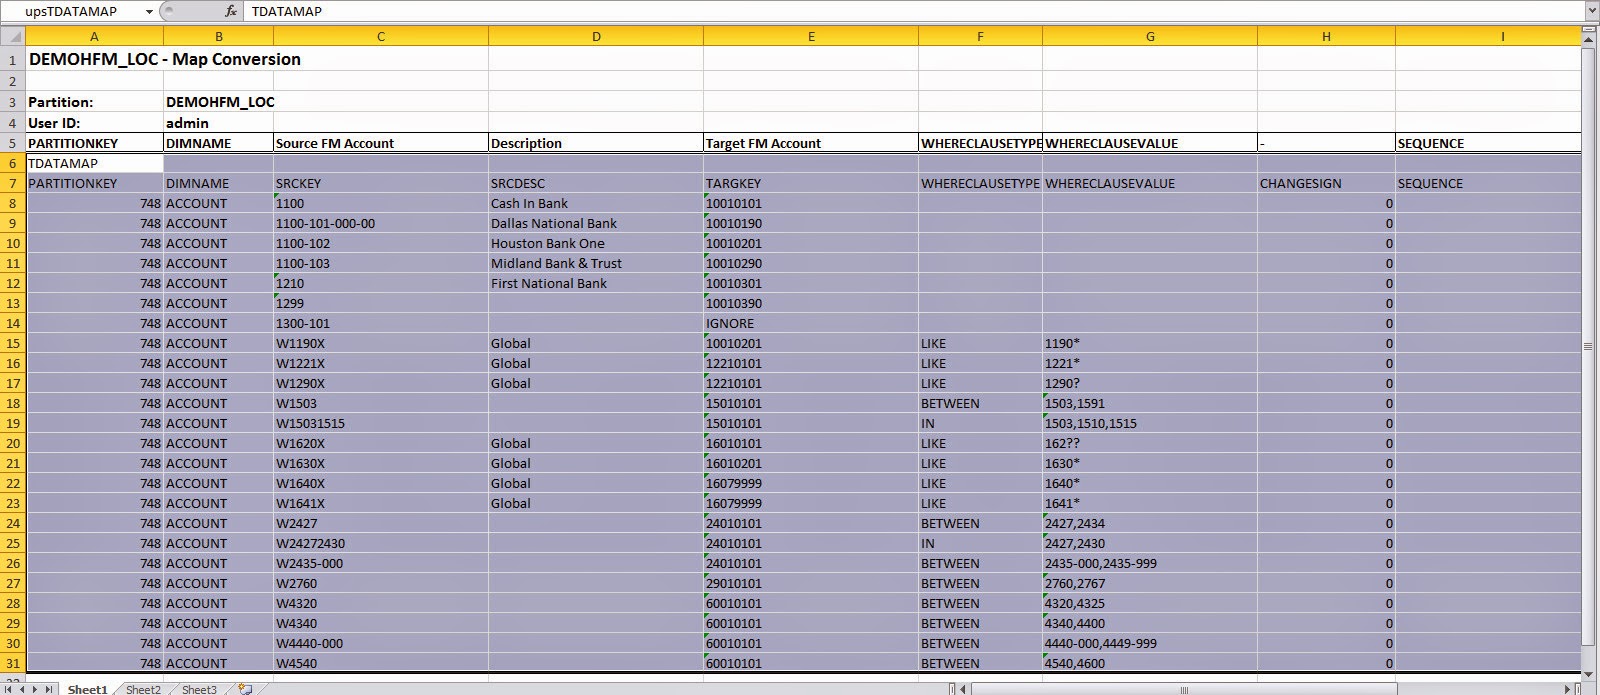
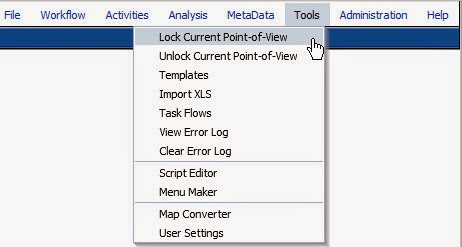
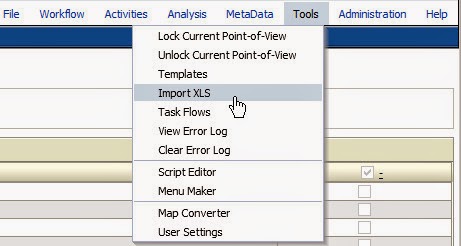
Return to FDM application, click the menu Tools and then Import XLS.
Select the Excel file we updated before.

Click Import

Shows the following information.
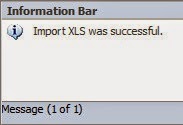
You can find the record can be added successfully.

Actually, you can use this method to import any other objects that can be exported from the FDM application. (e.g. Control Tables, Import Formats...)


