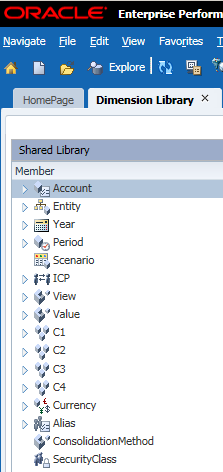
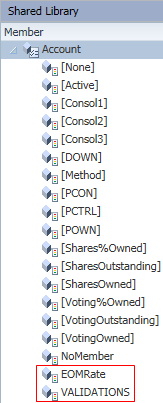
The account dimension has some default HFM accounts. We can create an exchange rate account and a validation account manually.
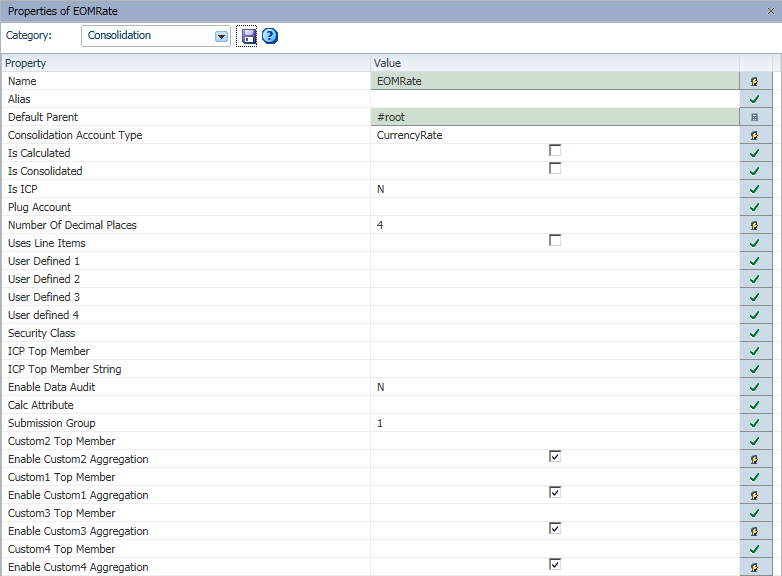
The exchange rate account and the validation account's properties are as below.

Create members in Year dimension in the number format.

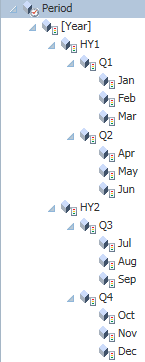
Create 4 generations in the Period dimension with the following settings.
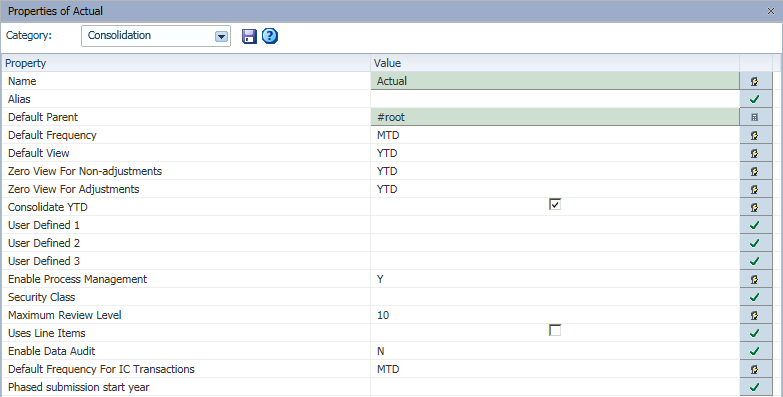
In Scenario dimension, at least one member need to be created.
The member properties are set as below.
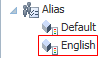
Create at least one language in Alias, rather then the Default one.
In the View dimension, create at least 4 members than the default Periodic one.

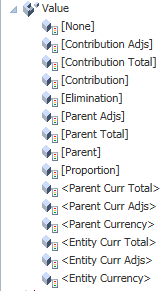
The Value dimension has the following default members as below.
Create at least one currency in the Currency dimension, rather than the default Local one.

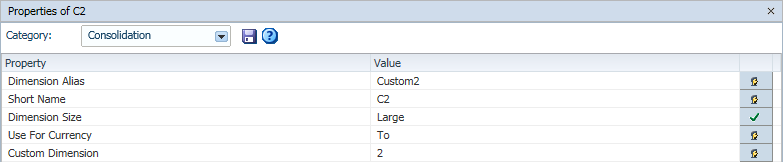
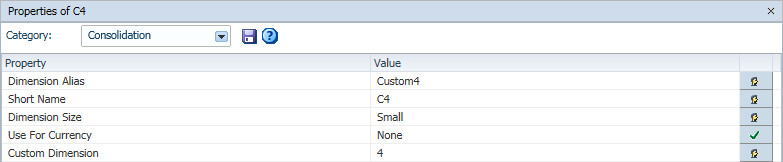
For the custom dimensions, define the properties for each of them as below. Set the Use For Currency, C1: From and C2: To


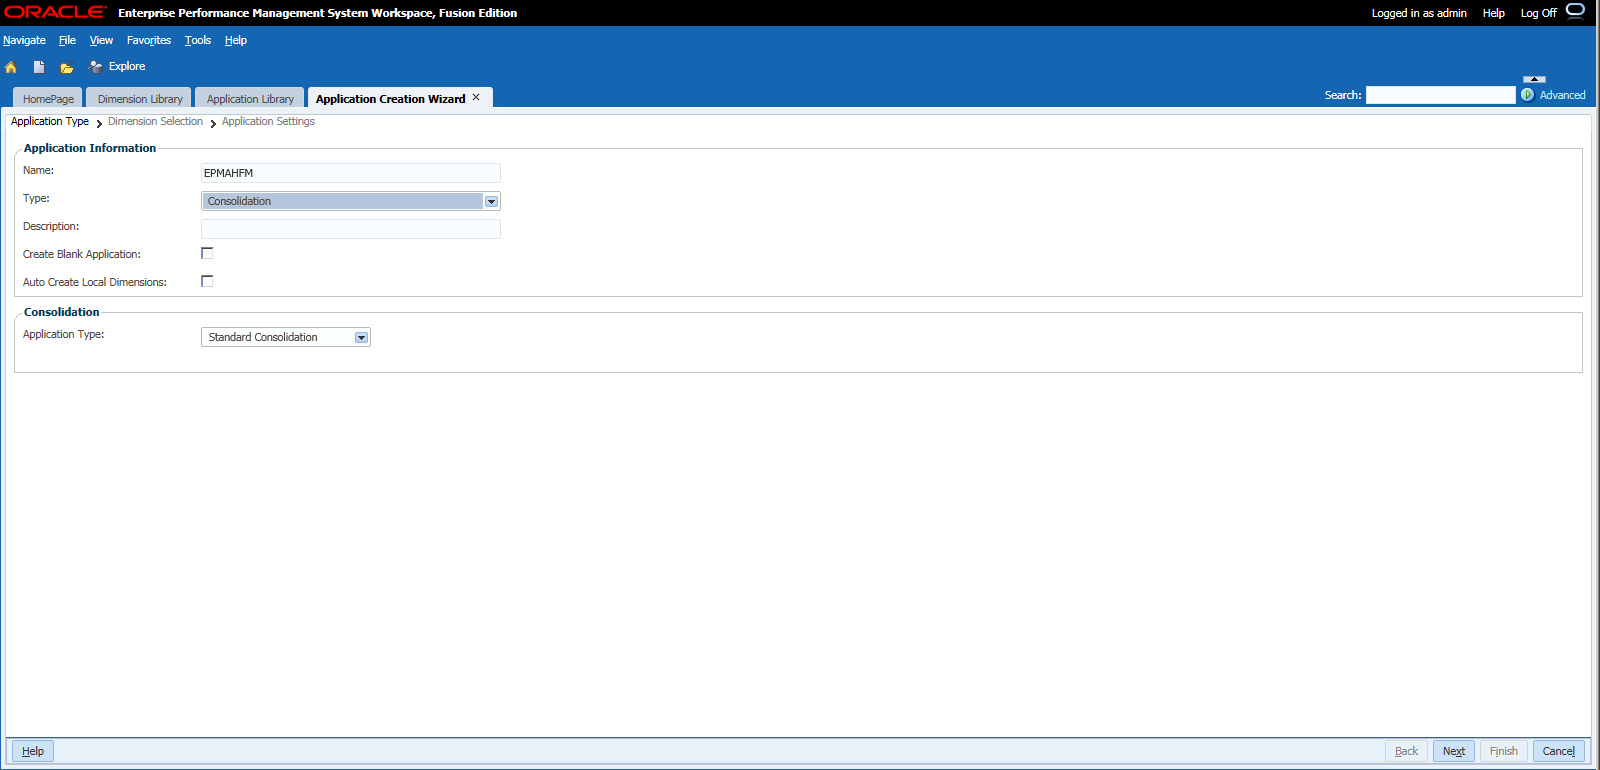
Now we can create HFM application in the application library. Input the application name and select the application Type to Consolidation. Click Next to continue.
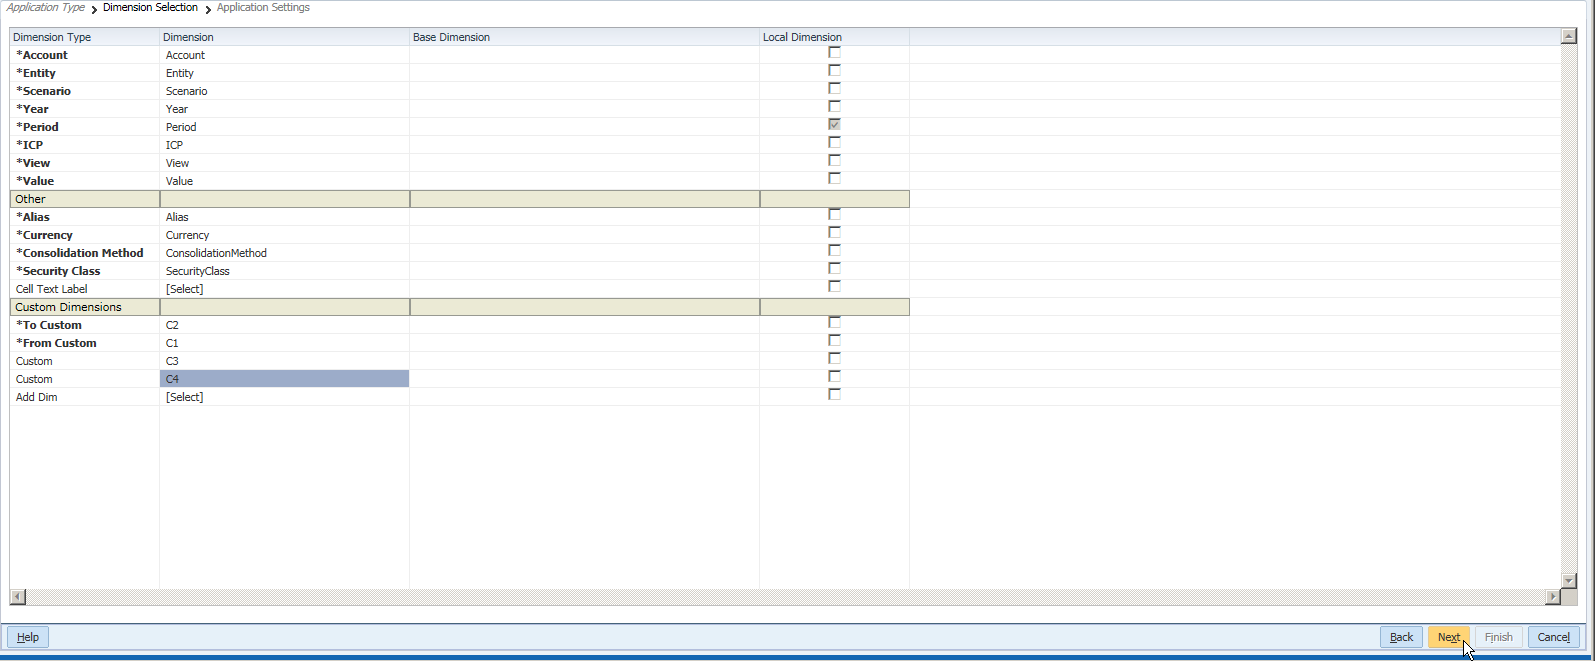
Double check the mandatory dimensions for HFM, select C2 for To Custom and C1 for From Custom. If you need to add more custom dimensions, just select the custom dimensions in the Add Dim drop down box.
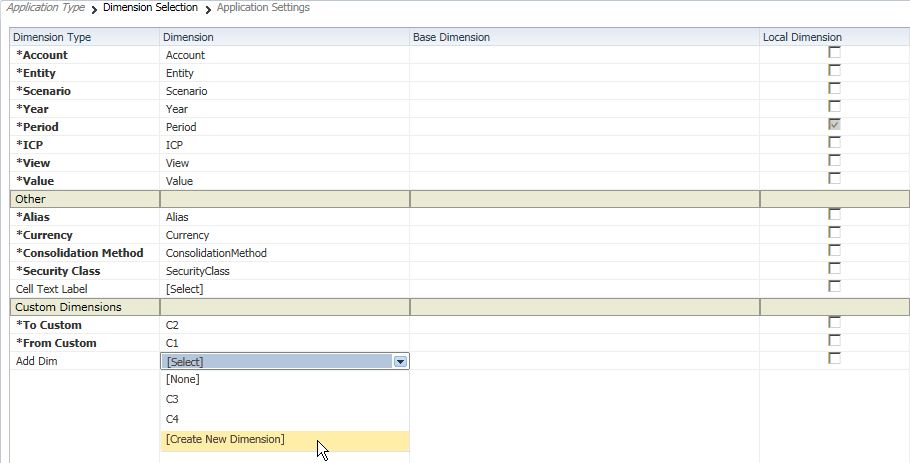
After all the dimensions are selected, click Next to continue.
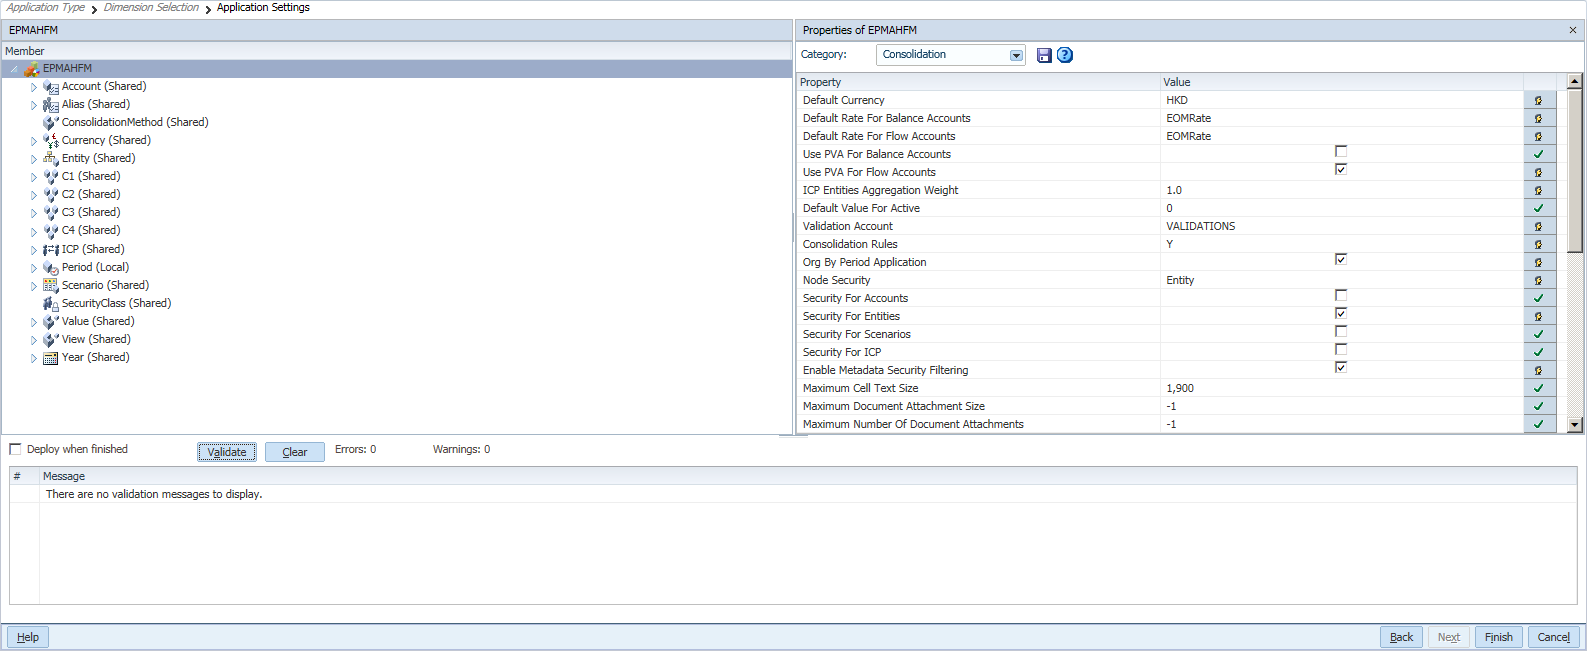
In the property window at the right panel, set the properties of application as below. Then click Validate button and found there are no validation messages to display, which means all the validations are passed. Click Finish to continue.
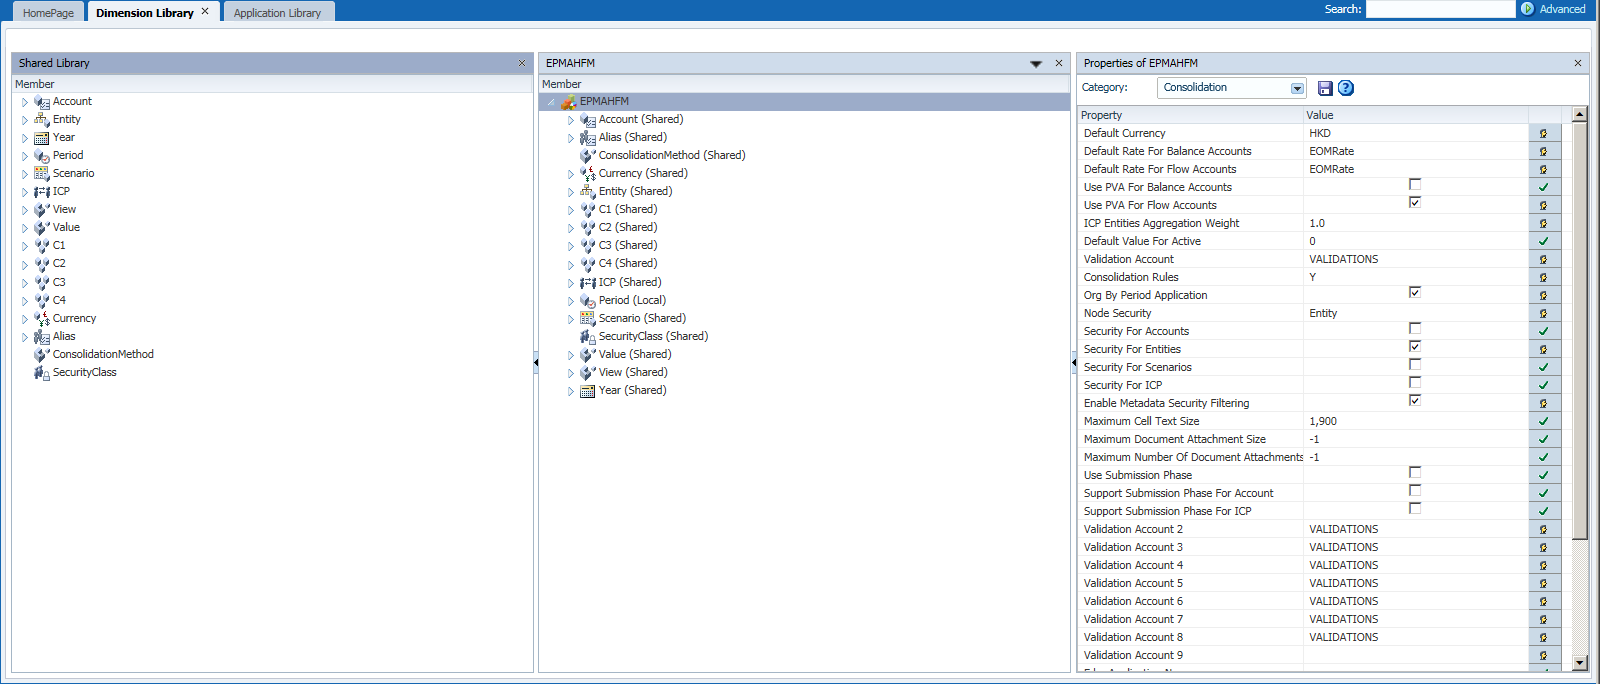
Then it will return to the dimension library page and found the following view.
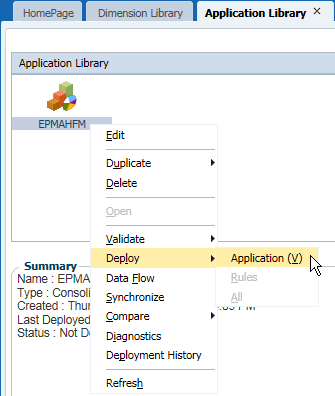
Go to the application library, right-click the new created application and then deploy it.
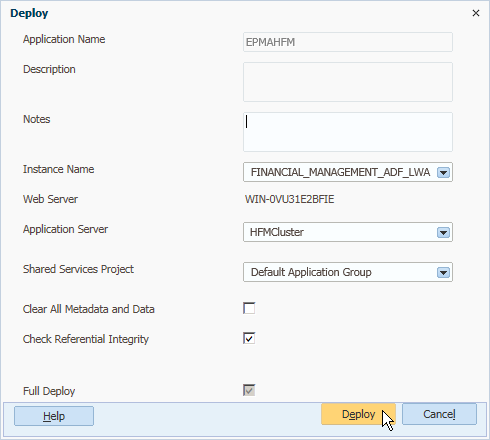
The following page shows, select the Shared Services Project and keep the other settings. Click Deploy to continue.
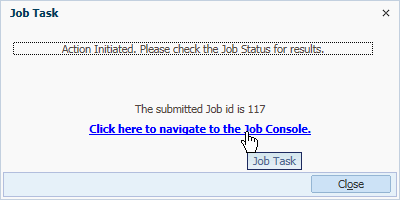
Then we can click the link to see the progress of the deployment.
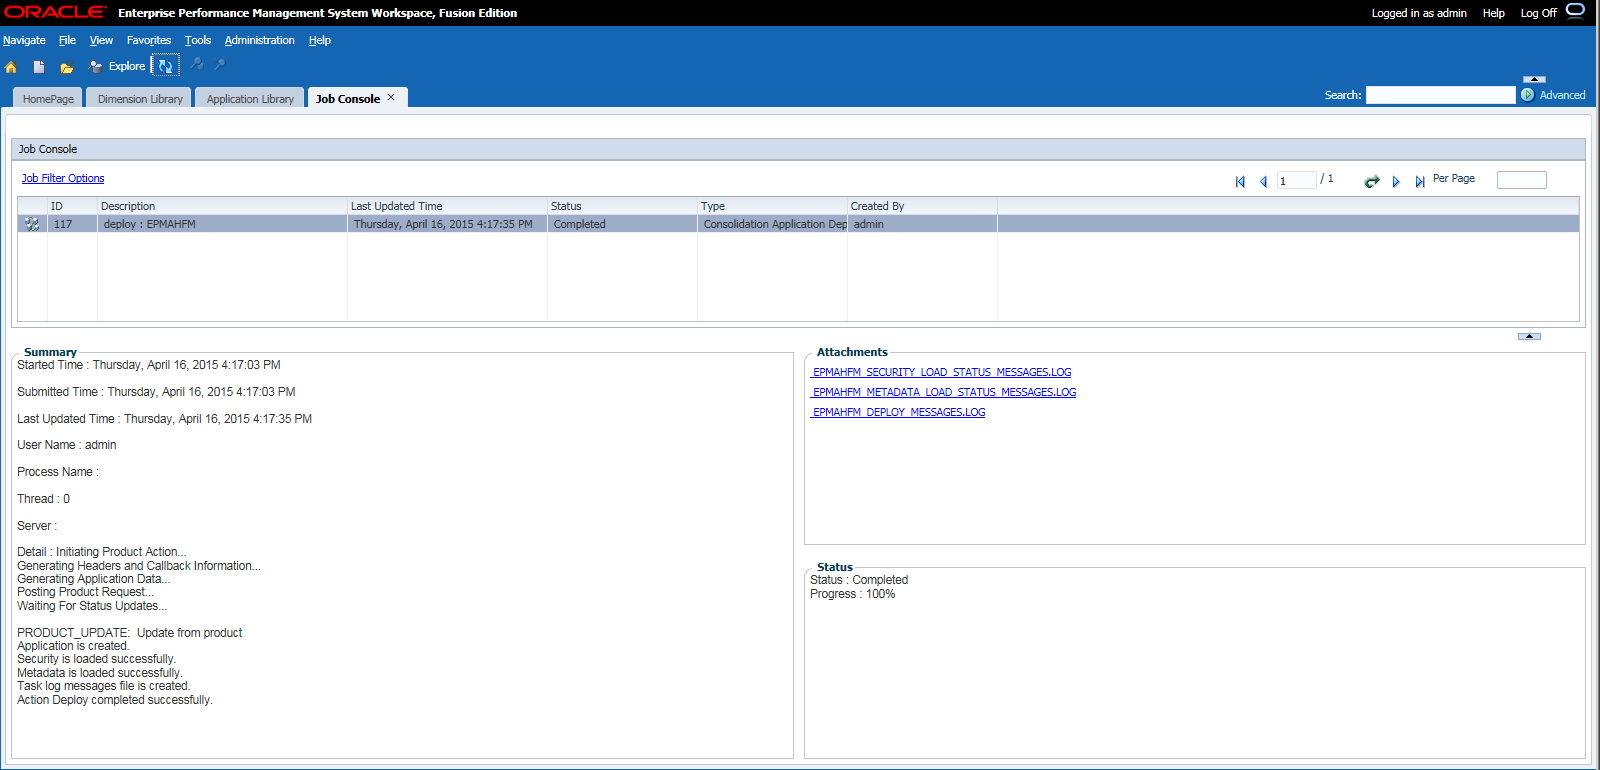
Refresh the status until the progress is 100%.
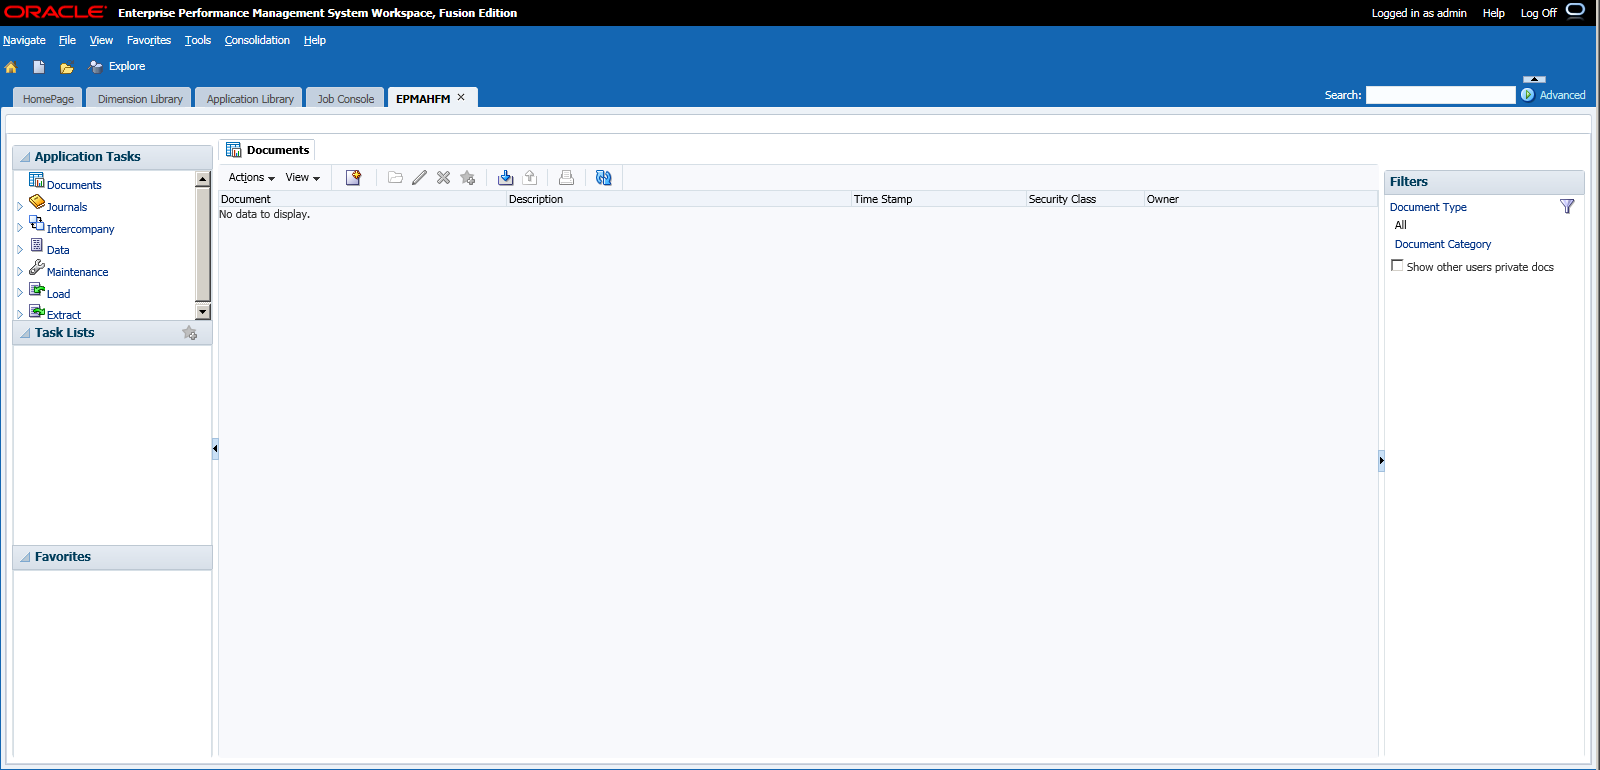
Then we can open the new created HFM application!
No comments:
Post a Comment